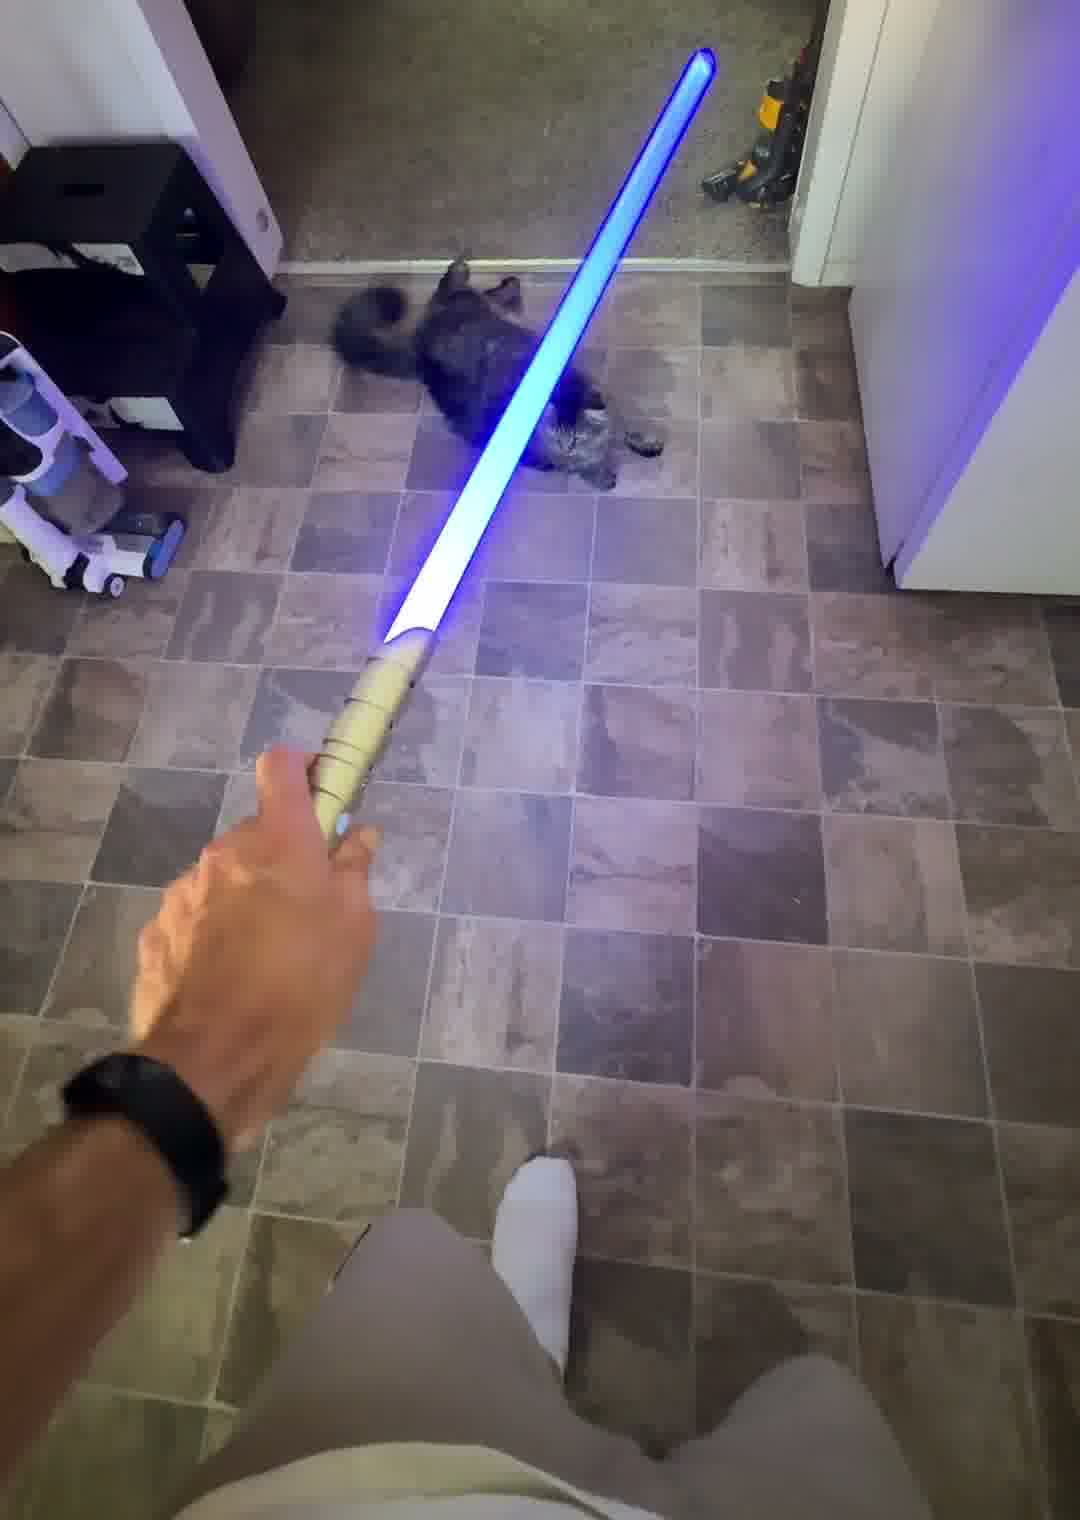
I recently fixed a lightsaber that went completely dead and refused to take a charge. When your weapon goes dark like that, there’s only one thing to do: break out the multimeter, draw up some schematics, and get the soldering iron hot.
Here’s a step-by-step breakdown of how I diagnosed and fixed the issue:
Step 1: Diagnosis & Schematics
I started by pulling out the internal circuit board. Before diving into the weeds, I checked the battery’s voltage just to make sure it actually had power.
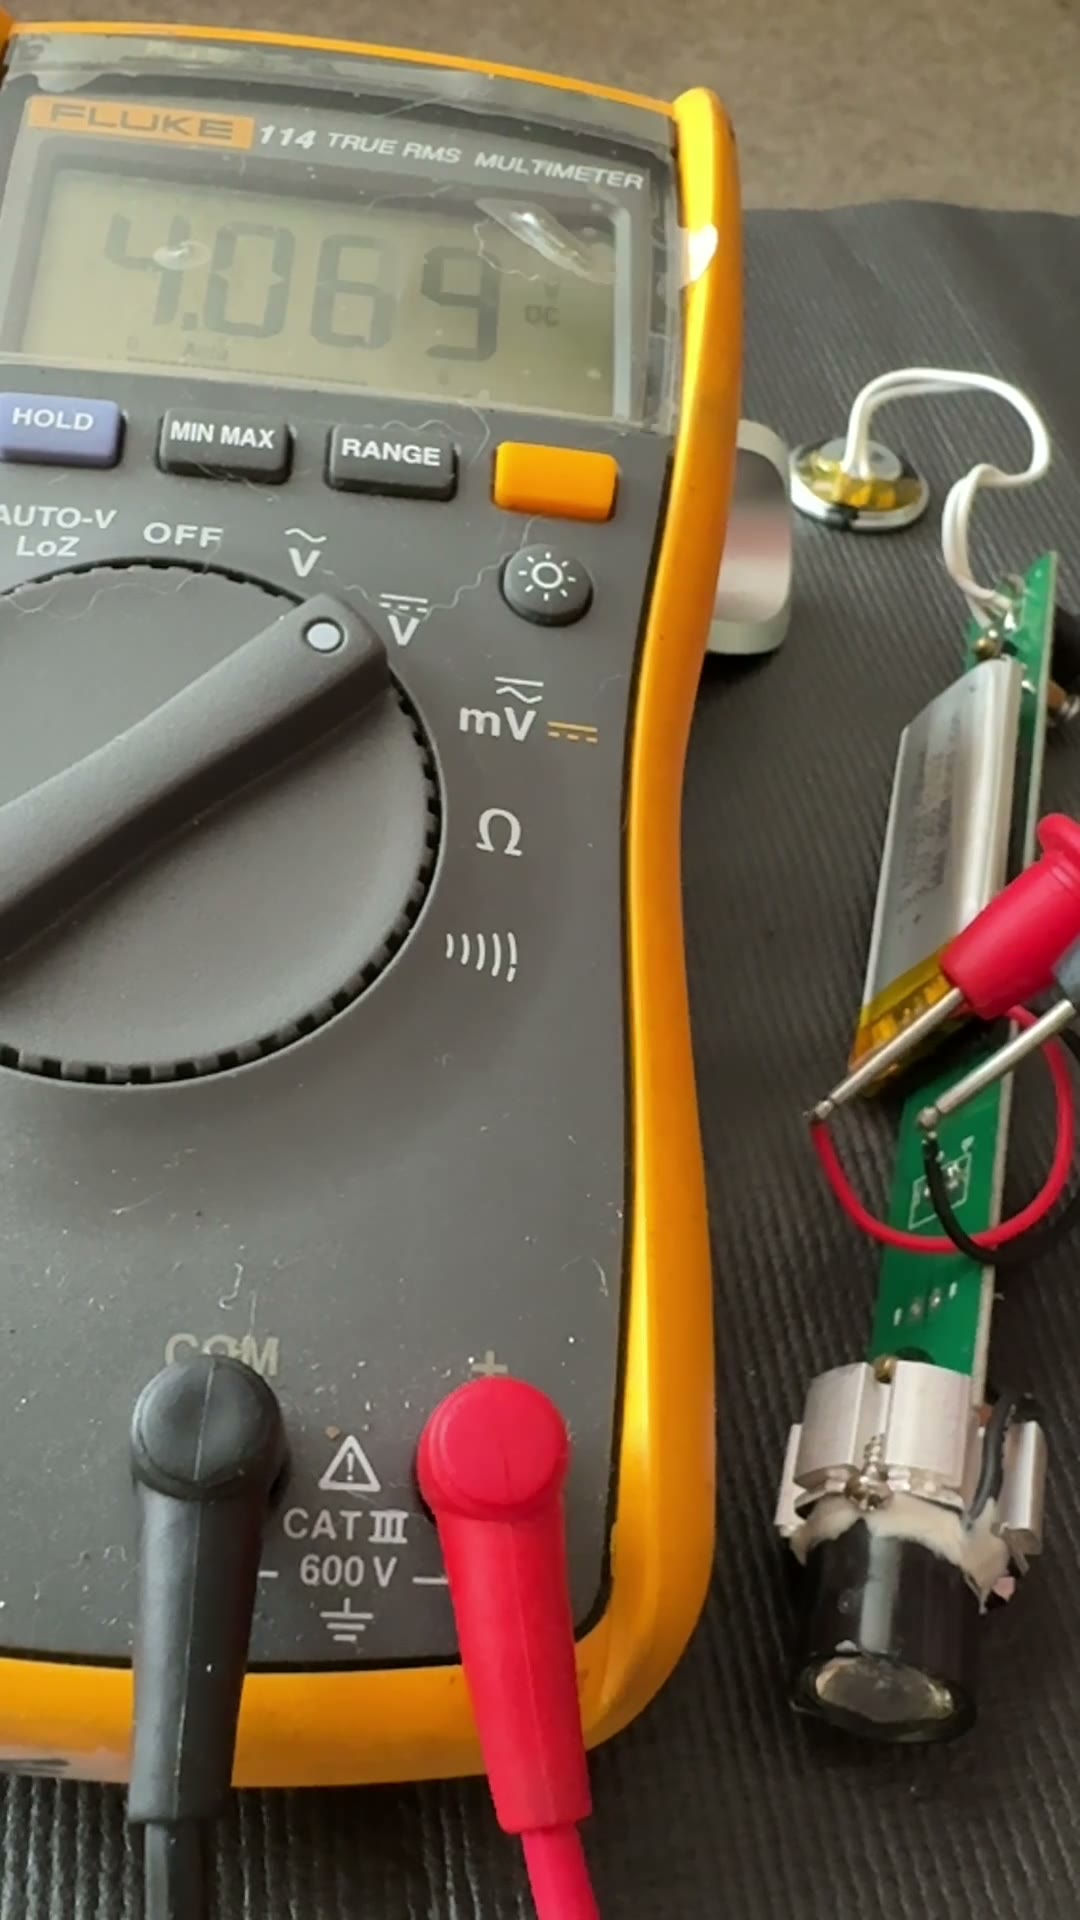
Once I confirmed the battery wasn’t the issue, I went ahead and desoldered it from the PCB. Pro tip: always remove power from your board before measuring resistance, otherwise you’ll get completely bogus readings or end up frying your equipment.
With the board safely unpowered, I grabbed some paper, sketched out the circuit paths, and started probing the tiny surface-mount ceramic chip resistors to check their resistance.
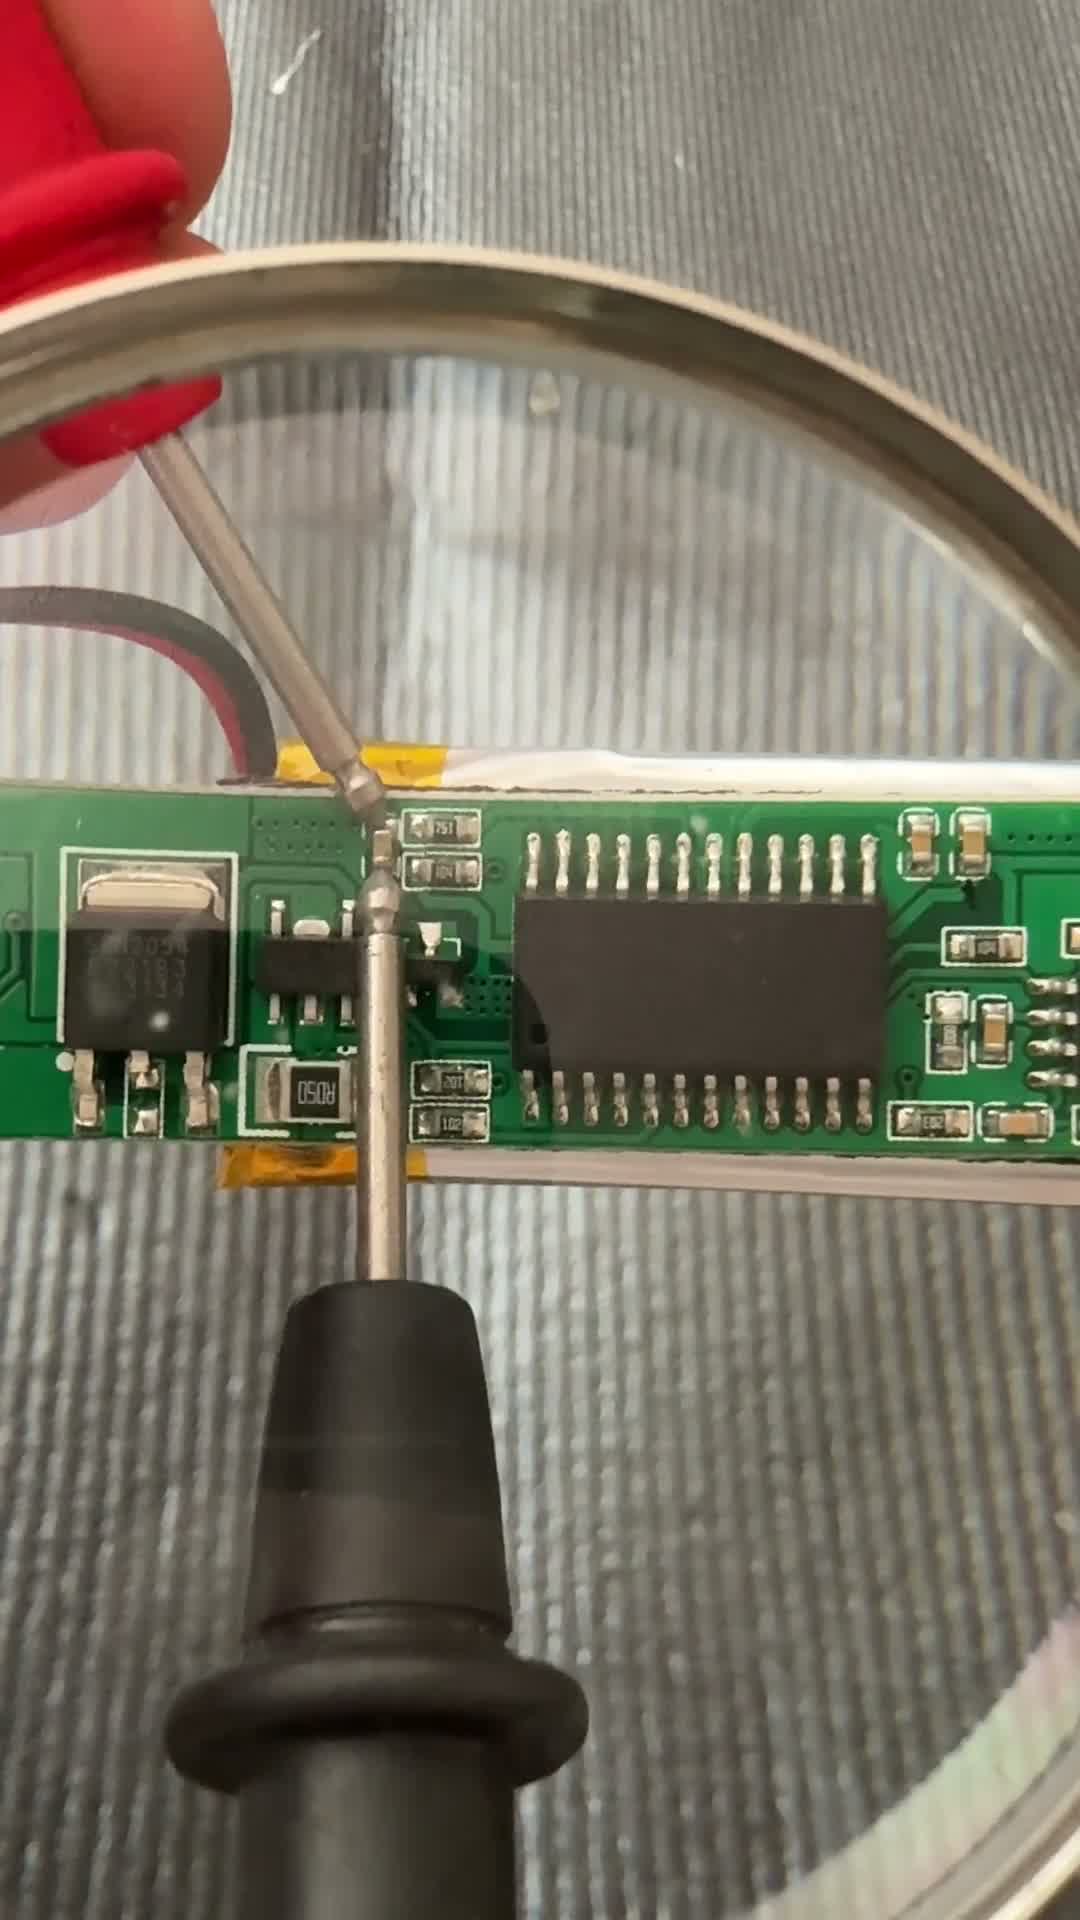
On my multimeter, most of those little resistors were consistently reading right around 14.5 to 14.7 Ohms. But then I found one right next to the charging IC reading just 12.2 Ohms. That specific drop in resistance was a dead giveaway. It pointed straight to a partial short inside the charging controller itself. I finally had my culprit: a blown TC4056A lithium-ion battery charging IC.
Step 2: Prep and Removal
These tiny surface-mount components can be a pain to work with if you don’t have enough space. To give myself more breathing room around the blown IC, I temporarily desoldered and removed the big cylinder capacitor near the top of the board.
Once I had clear access, I applied some flux and grabbed my desoldering wick, carefully soaked up the old solder and plucked the dead TC4056A off the board. I messed up some of the little pads underneath but was able to move them back into place with the tip of the soldering iron.
Step 3: Placing and Soldering the New Component
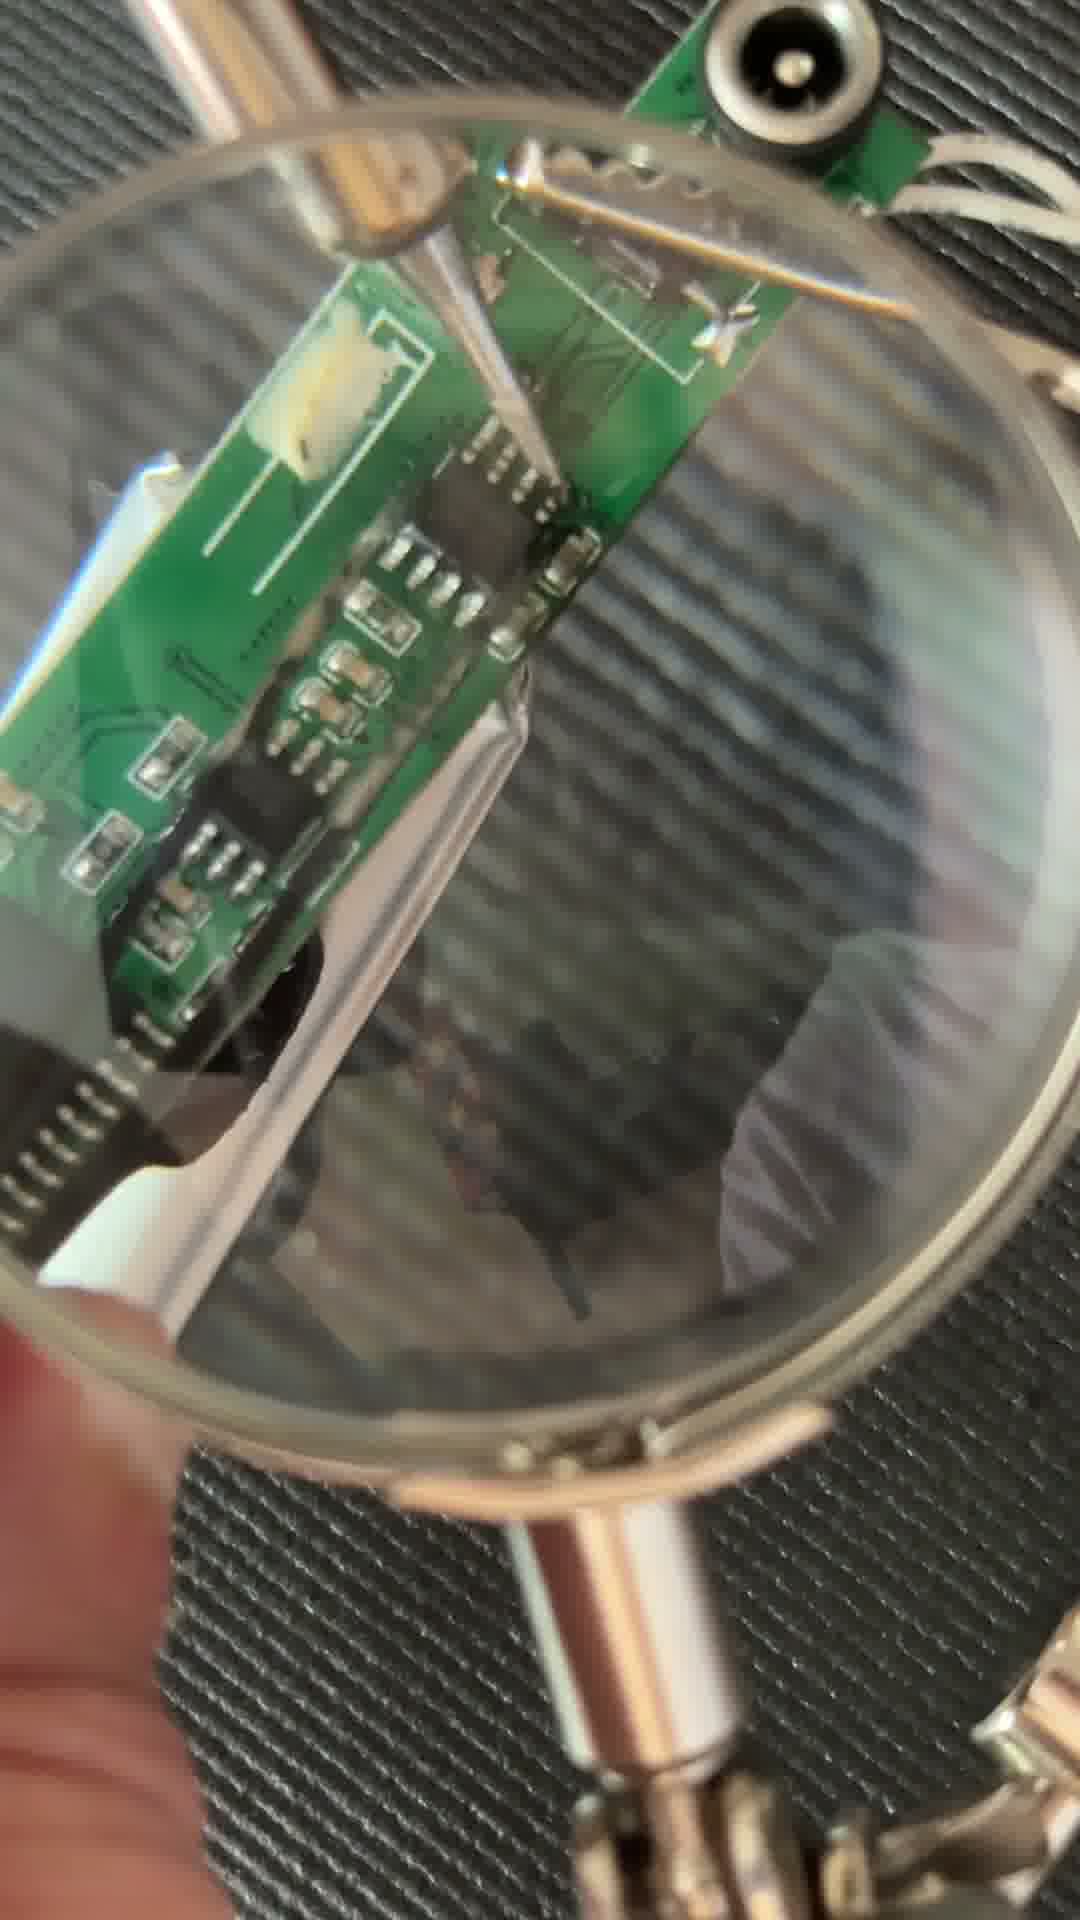
Getting the new chip lined up on those tiny pads with tweezers was a bit of a headache, but I eventually got it sitting mostly straight.
I went in with the soldering iron and tacked down the pins.
Step 4: Reattaching the Big Stuff
With the new charging controller securely locked in, I popped that big cylinder capacitor back in place and soldered it down.
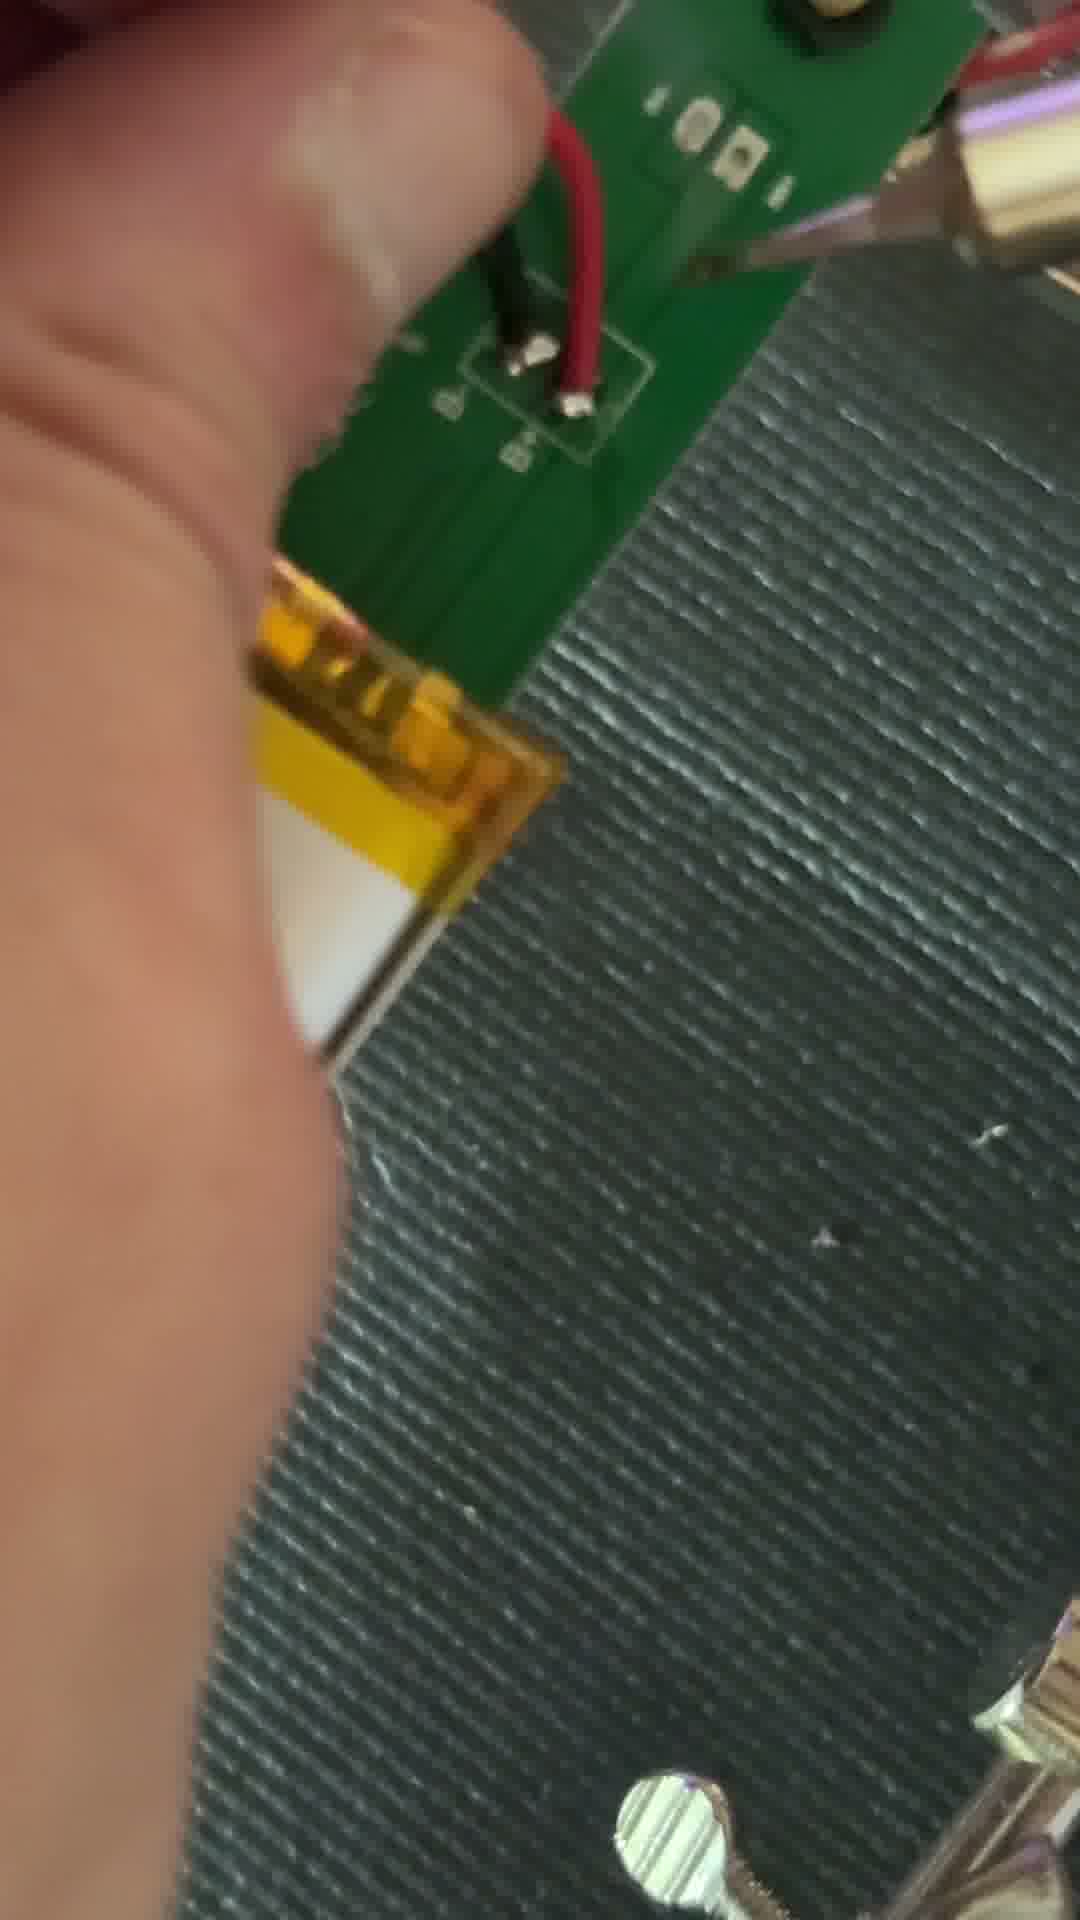
Next up, I soldered the battery leads back onto the PCB and ran a quick test to make sure the board was finally getting the right charging voltage. Everything looked good.
Step 5: Reassembly
Trying to shove the electronics back into the metal hilt was annoying, mostly just trying to get the barrel jack to actually line up with the charging port hole on the chassis. After a bit of wiggling, everything was buttoned up.
The lightsaber is taking a charge and fully working again. Surface mount repairs are tedious and you’re almost guaranteed to mess up a pad or bridge a pin, but it’s pretty satisfying when the thing actually turns on at the end.